
The Projects page
The Projects page is your main working screen. All your surveys are gathered here — this is where you create new projects and open the builder to work on them.
At the top of the page there are two tabs: Projects (your projects) and Template Gallery (ready-made survey templates).
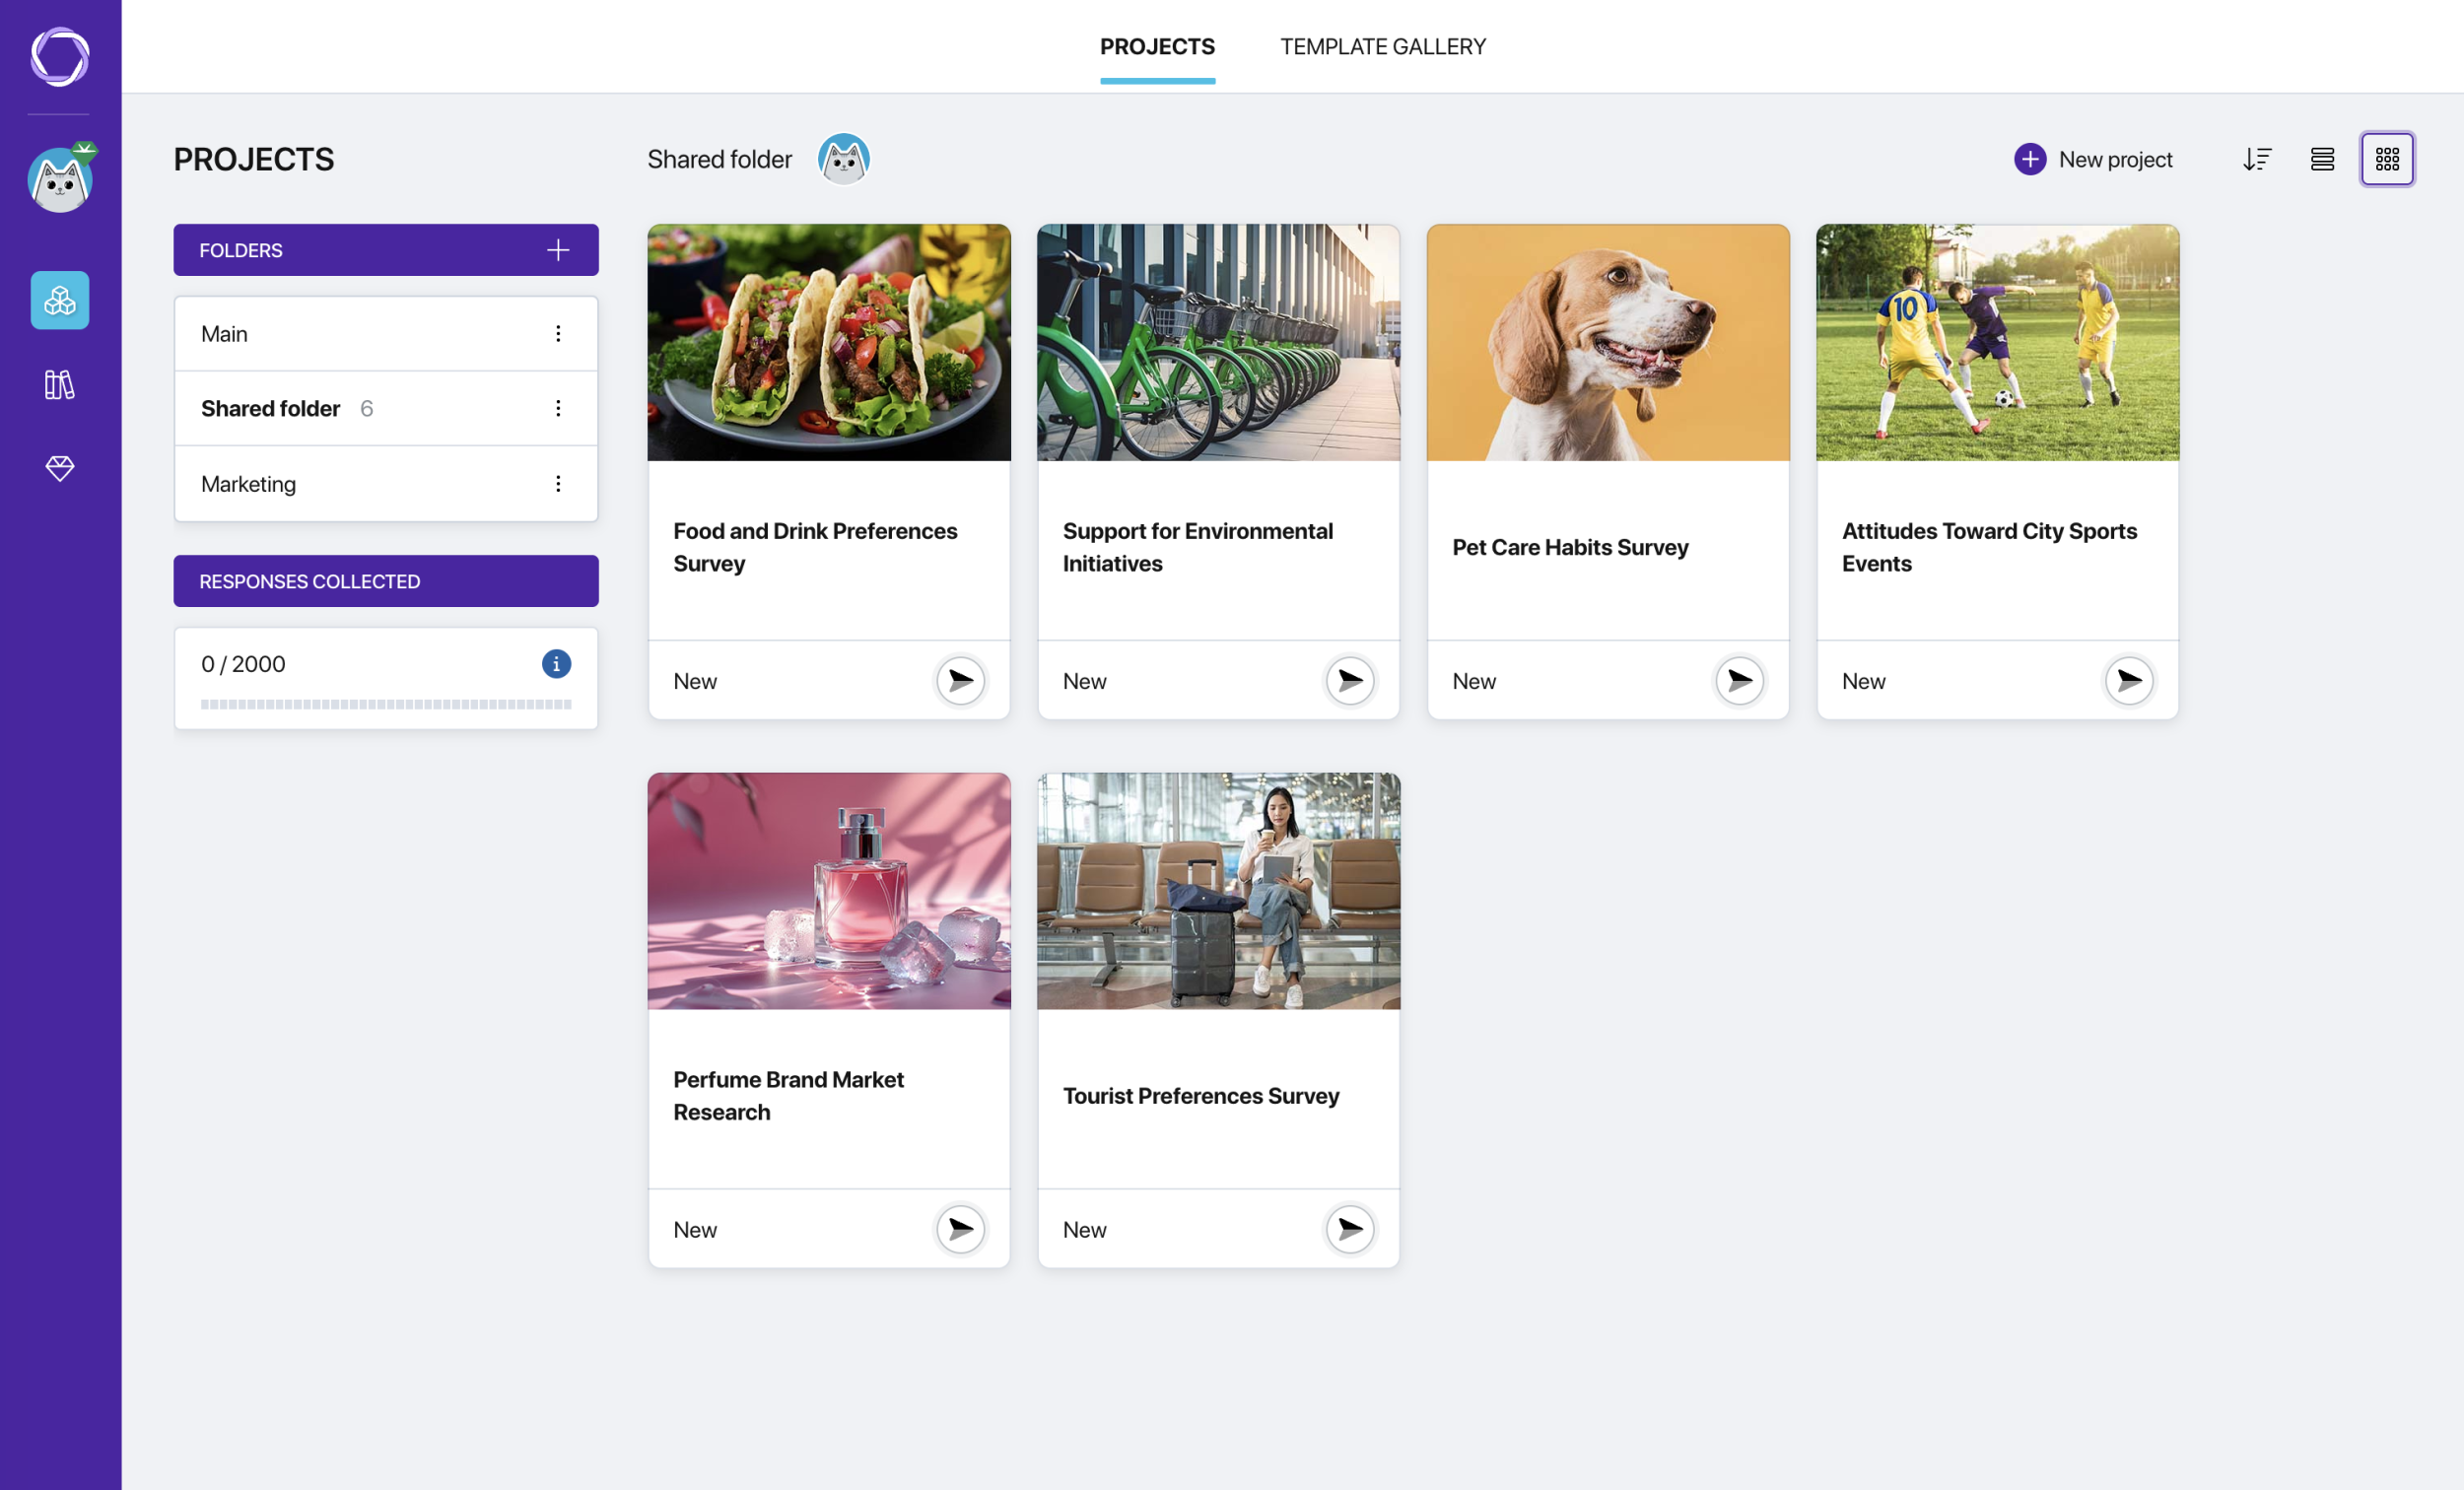
Projects page
Folders
On the left side of the page there is a folder panel. By default, all projects are in the Main folder. You can rename this folder or create additional ones to group surveys by topic, client, or any other principle.
To create a folder, click the + button on the panel. Each folder shows its name and the number of projects inside. The folder menu (three dots) provides access to renaming.
Responses collected
Below the folder panel there is a Responses collected indicator. It shows how many responses you have gathered so far against the allowance included in your plan, with a progress bar for a quick overview. Click the information icon for details, and see the Plans page to learn what your plan includes.
Creating a new project
At the top of the page there is a + New project button. Use it to create a project from scratch or with AI. Ready-made templates are available on the adjacent tab — Template Gallery. For more details on each creation method, see the article "Creating a new project".
Folder access for teams
On paid plans, the team lead (the owner of the Author Workspace) can invite members to their team. If the team has members, the menu of each folder includes an Access settings option, and avatars of members with access are displayed next to the folder name.
Three access levels:
- Available to all — the folder is visible to all team members.
- Only me — the folder is visible only to the team lead.
- Me and those I choose — the team lead manually enables and disables access for each member.
The team lead always has access to all folders regardless of the setting.
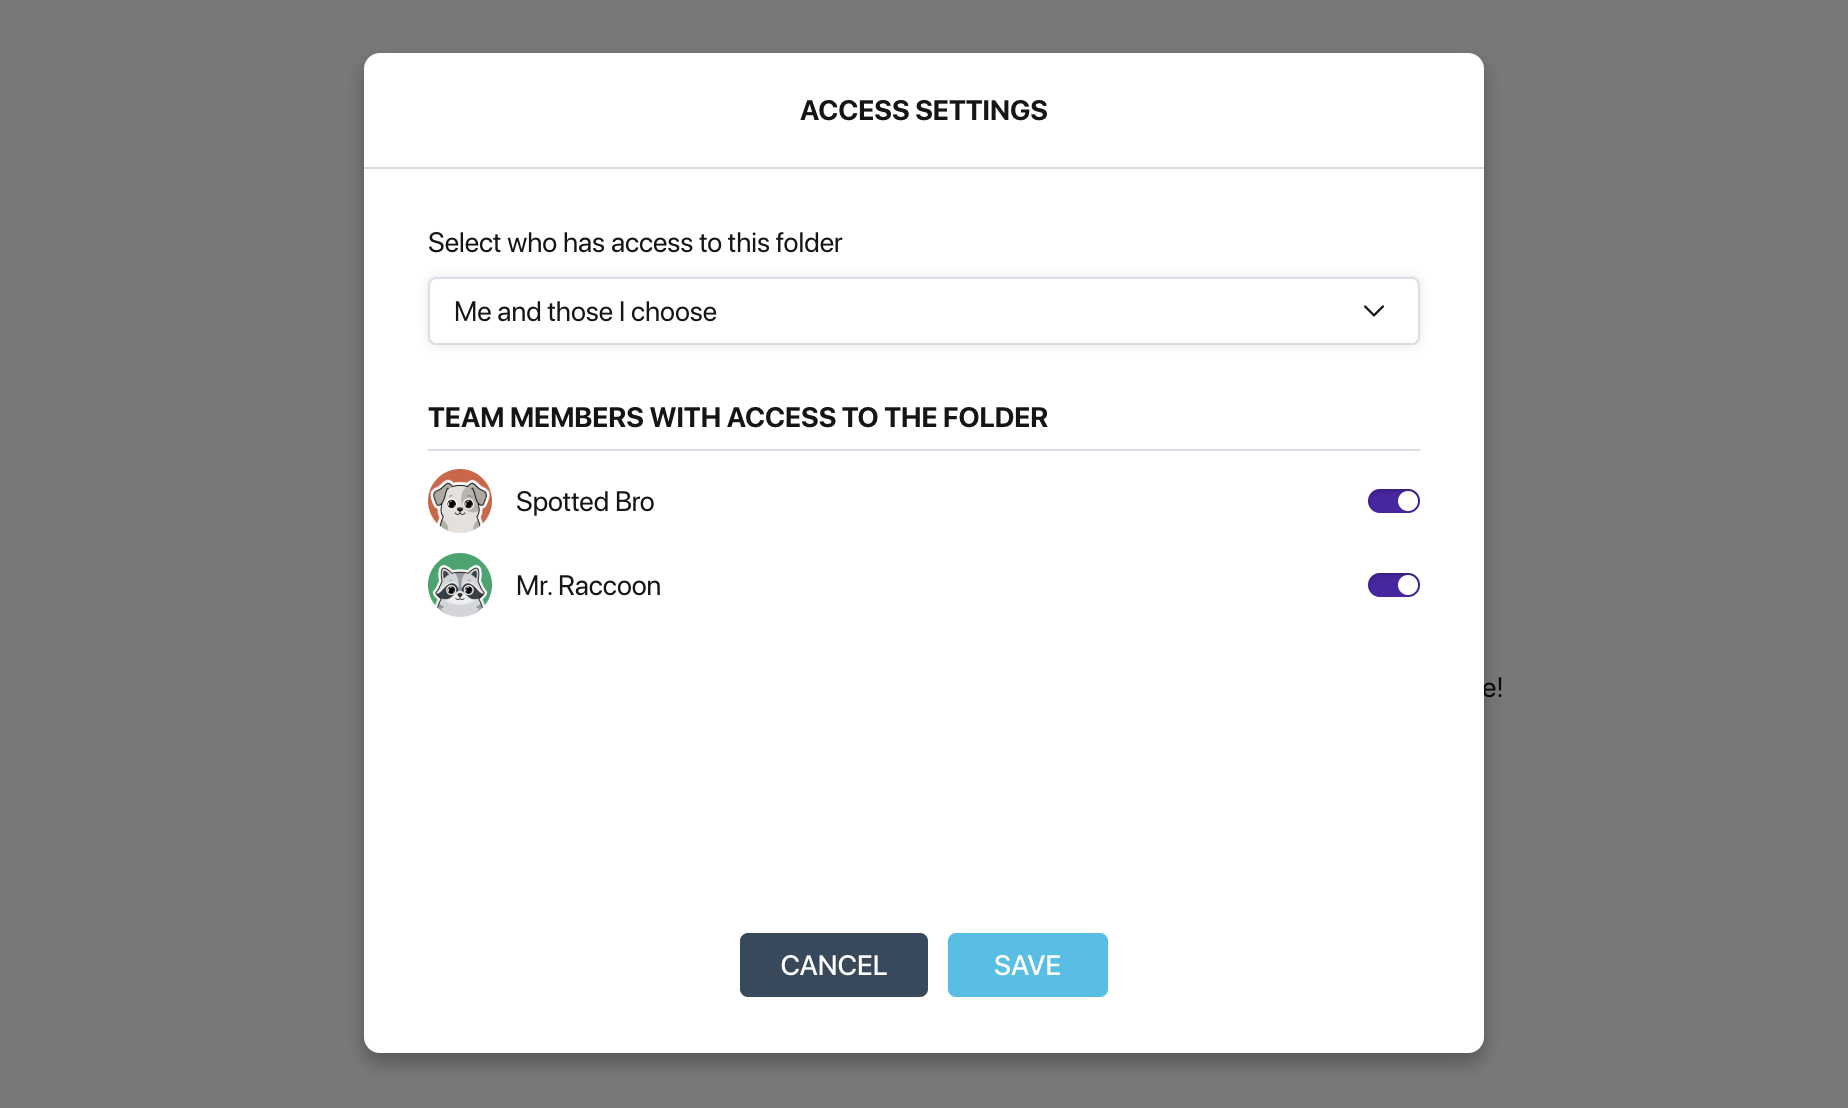
Folder access settings
Display modes
In the top right corner there are buttons for switching the view:
- Tiles — projects are displayed as cards with a cover, name, and status.
- List — a compact table with columns: cover, name, status, creation date.
Next to the view toggle there is a sort button: by creation date or alphabetically.
Project card
Each project is displayed as a card (in tile mode) or a row (in list mode). The card shows:
- The cover chosen during creation.
- The survey name.
- Status — the number of collected responses or a "New" label for projects with no responses.
- A status indicator — a colored icon showing the state of the survey.
Click a card or row to open the survey builder.
Survey statuses
Each project is marked with a colored indicator:
- Gray — draft. The survey has not been opened for respondents yet.
- Purple (pulsing) — the survey is open and accepting responses.
- Green — the survey is complete. Response collection is finished.
Project actions
Each card (or row in list mode) has a three-dot menu that allows you to:
- Rename — change the project name and cover.
- Duplicate — create a copy of the project. All questions, logic, and settings are copied. Collected respondent data is not copied.
- Move — transfer the project to a different folder.
- Delete — delete the project (highlighted in red to prevent accidental clicks).


